Proper ground preparation is the key to long-lasting, drought-ready landscape in Colorado. The following steps are essential to the establishment of your new turf in Denver, Eastern Colorado and the Front Range.
- This is your best opportunity to develop a deep root system and therefore a more drought tolerant turf.
- If you choose to put a starter fertilizer down, apply after the Final grade and follow the manufacturer’s directions.
Ground Preparation
1) Prepare the site prior to the arrival of the sod.
- Remove weeds and debris.
- Establish a rough grade and eliminate low spots.
- Spread and rototill a minimum of four (4) cubic yards of organics per 1,000 square feet at least six (6) inches deep. Level and rake the installation site until it is smooth.
- Grade areas along sidewalks and driveways approximately one and one half (1 1/2) inches below top of concrete.
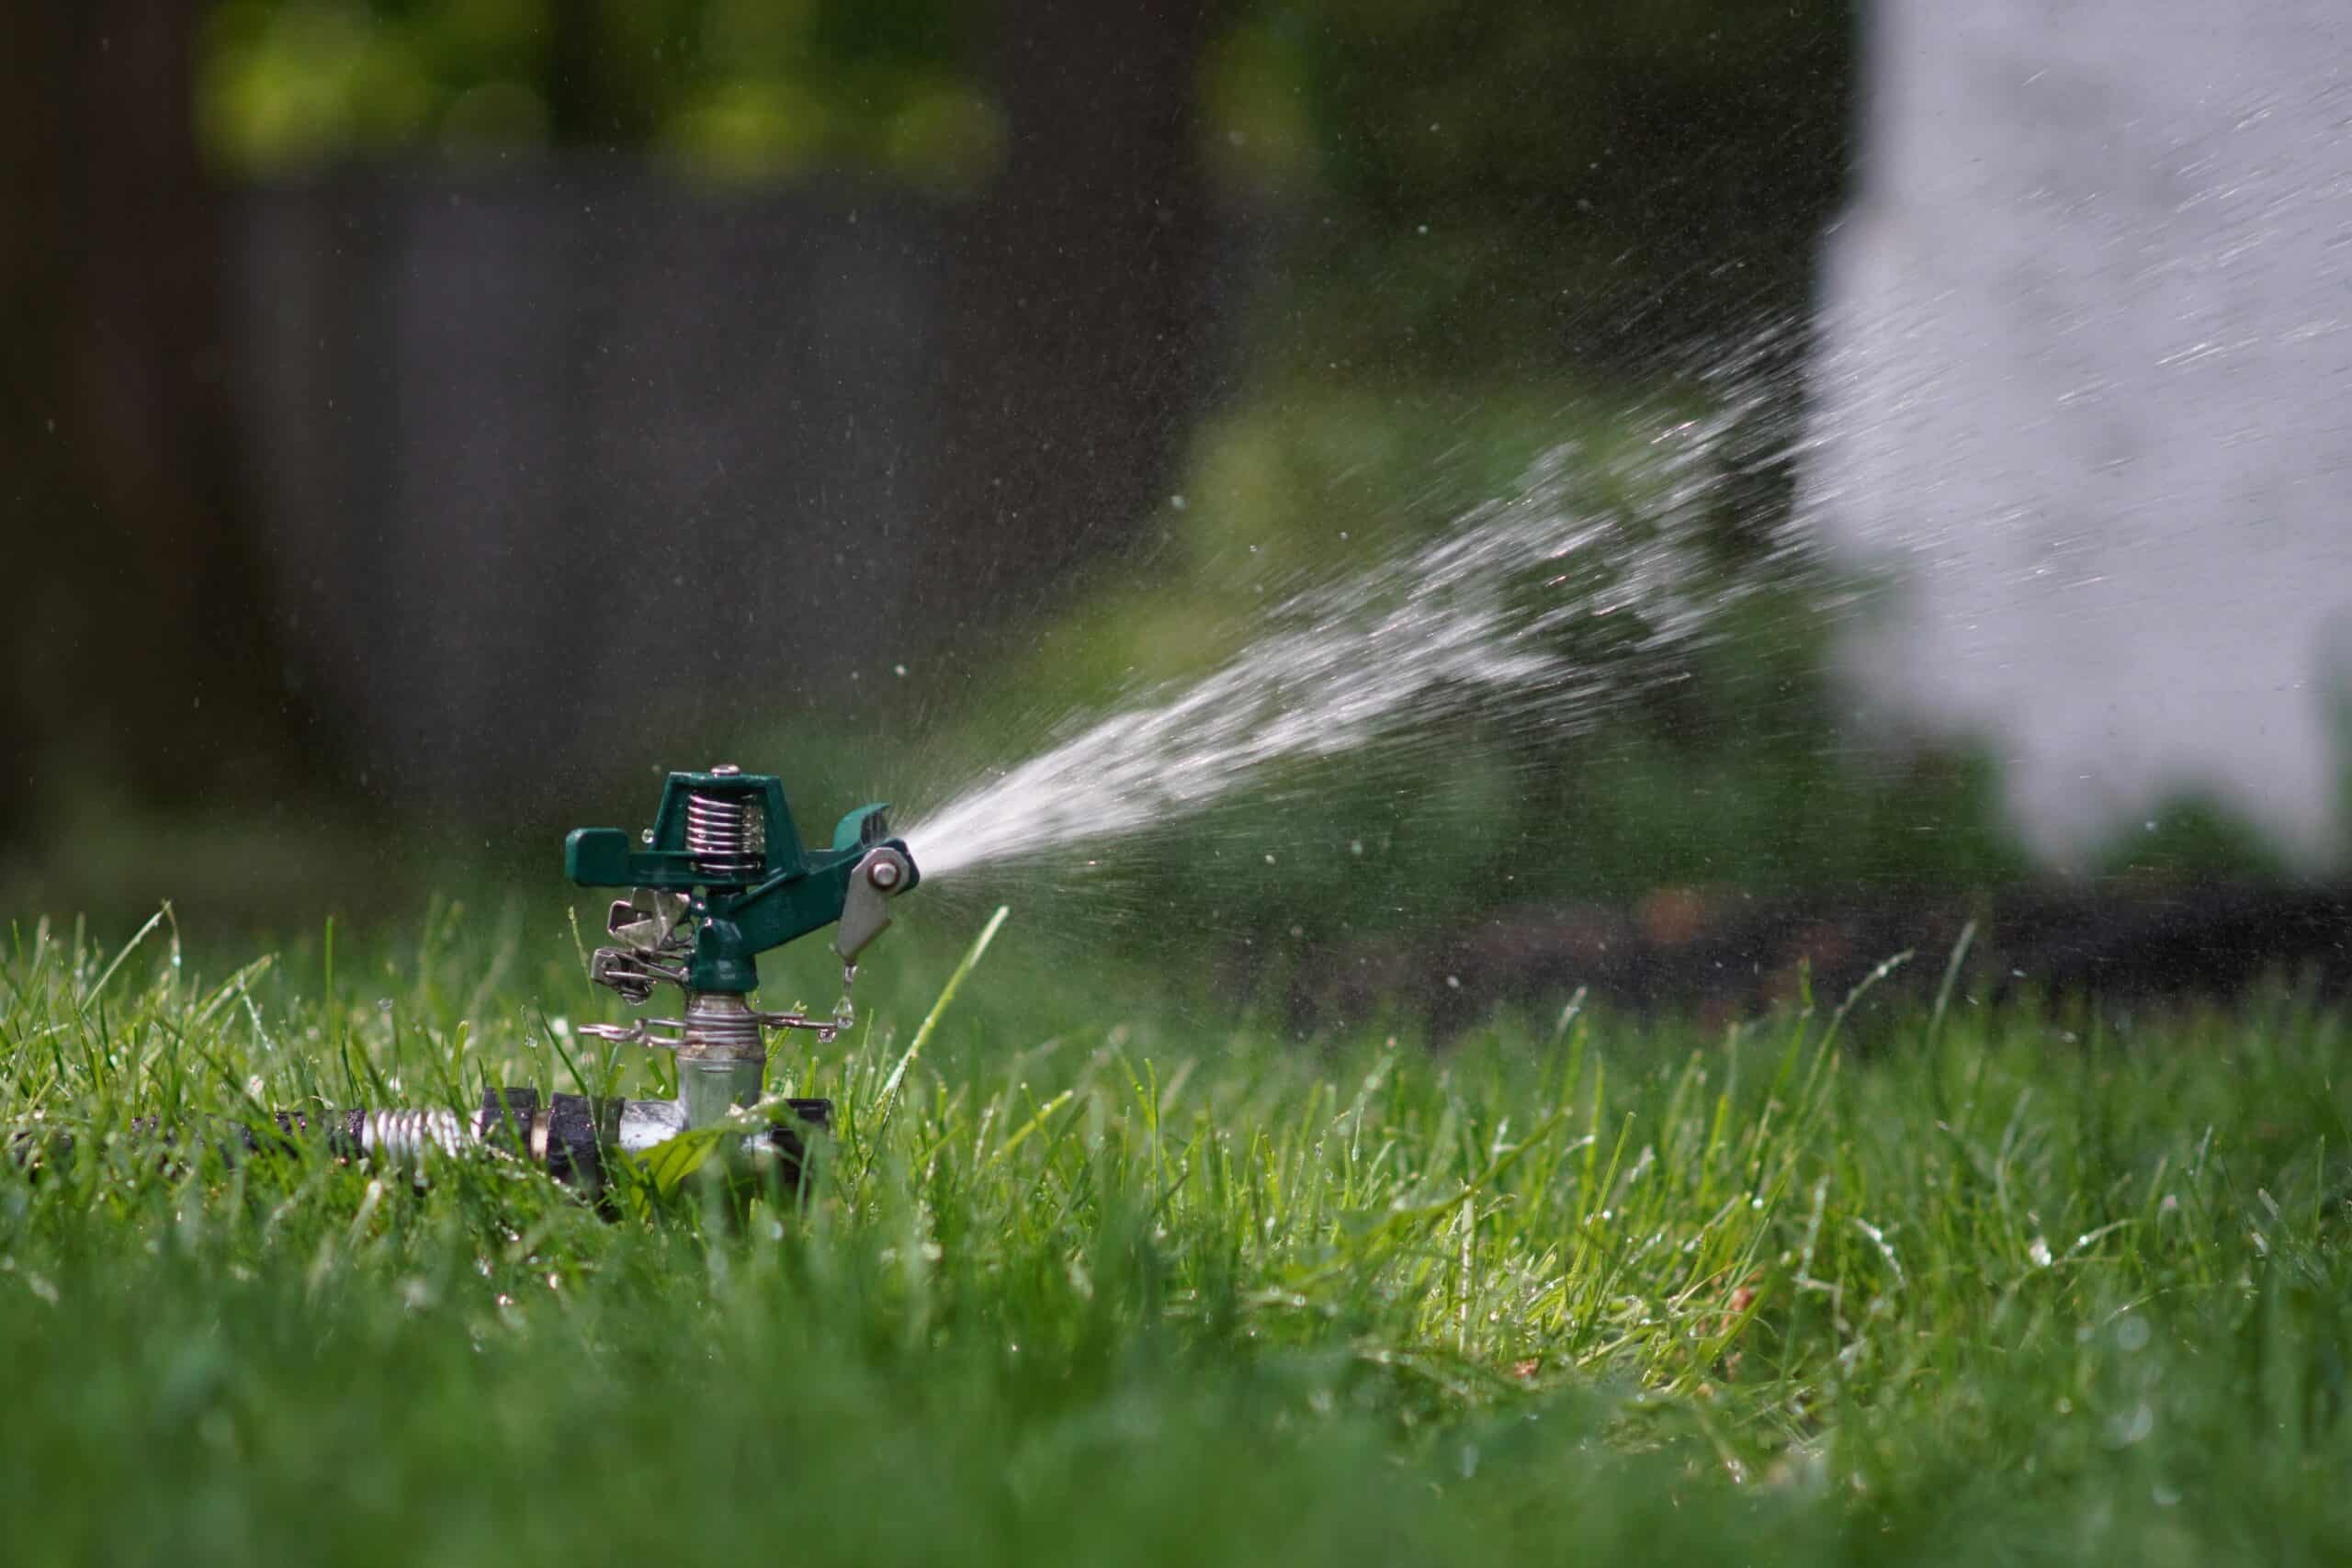
2) Ensure sprinkler is functioning properly.
- Understand the operation of your sprinkler system
- Make sure all sprinkler heads are adjusted and there are no leaks
3) Install sod immediately upon arrival. Turf is a perishable product, the sooner it is unrolled and watered the better.
- Start laying the sod rolls along the edge so that you are working your way
- Use brick pattern so seams on the ends do not meet
- Once an area large enough has been installed, apply water to that area.
- The object is to not let the sod dehydrate and dry out.
- Tight seams are essential. Make sure there are no overlapping or gaps.
- Fit the sod around obstacles or in smaller places by merely cutting the dirt side with a sod knife.
4) Install the sod immediately after delivery.
- Arrange the rolls so there is a minimum amount of traffic on the prepared soil and the newly installed grass.
- Lay sod in a horizontal brick pattern. Once an area of approximately 15 feet by 15 feet has been laid, rolled
- and fertilized, water immediately.
- The objective is not to let the sod dehydrate.
- Butt ends and sides of the sod strips making sure there is no overlapping.
- Fit the sod around obstacles or in smaller places by merely cutting the dirt side with a sod knife.
5) Water properly.
- Once all the sod is laid, begin watering to build up the sub-soil moisture.
- This is the most critical time to apply water
- May require up to one half (1/2) inch of water per day for the first two to three (2-3) days.
- Probe the soil to determine if the moisture has penetrated at least four (4) inches.
- During the following two (2) weeks, the amount of water needed will be similar to the chart below.
- Each day may require more than one application depending upon wind and temperature.
- The reason for several light applications is to keep the root zone and blades moist.
- Week three (3) is used as a transition period from daily watering with frequent applications per day to an increased number of days between watering.
- During this time the grass should be ready for routine maintenance.
- By the end of the establishment period, the grass should be able to go several days between waterings depending on the season and weather.
6) The approximate amount of water that needs to be applied each week for an average, traditional lawn to supplement normal rainfall is listed in the following chart:
- Data for the chart is based on historical averages. This is a guideline and is not a substitute for good judgment, reason and common sense. If we don’t receive normal rainfall, then the amounts shown in the chart should be increased to gain the same results.
- If there is greater than normal rainfall, then the amount of supplemental water should be reduced.
7) Measure the water applied by using rain gauges or cans placed on the lawn in areas covered by sprinklers.
8) After initial three weeks, adjust watering times and sprinkler clocks to conform to the water restriction program in your area.
9) Become aware of dehydration signs.
- Stage 1: grass has a purplish tint.
- Stage 2: blades turn steel gray and foot prints are left when walked upon.
- Stage 3: grass blades turn straw color.


