The Professional Landscaper’s Preferred
Source for Colorado-Grown Sod
At Horizon Turf Nursery, we believe it’s our job to help our landscaper and contractor customers get their next job. How? We know our sod is the very last touch that goes on a new home or commercial property before the Certificate of Occupancy is issued. Our grass is quite literally the icing on the cake. It’s imperative that the sod looks healthy and green. It’s critical that the weed-free sod is delivered to the jobsite on time. As the contractor hands over the property to the homeowner, our grass is the first thing they see. It has to be right. Every. Single. Time. We take this as a serious commitment. And it's our promise to you.
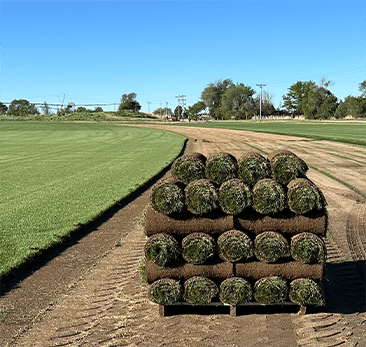
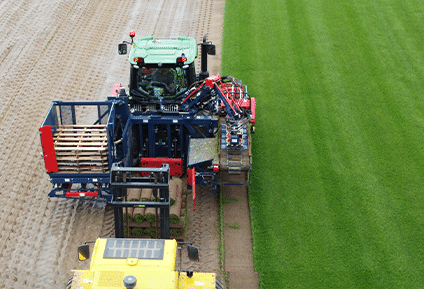
HARVESTING
Grown in the rich native sandy loam soil of Morgan County, our high quality sod is cut fresh to order. Whether you need two Small Rolls, or two truckloads of Big Roll sod, our goal is to provide the most beautiful, healthy and durable grass that puts the finishing touch on your landscape project.
DELIVERY
Horizon Turf Nursery delivers the sod you need, when you need it. Please plan to order your sod harvest three days prior to your installation date. We deliver Big Roll and pallets of Small Roll sod to homes and jobsites in Metro Denver, Fort Morgan, Sterling and The Front Range.
PICK-UP
If it’s more convenient for you to come by the farm to pick-up your sod order, please call us to schedule your harvest and pick-up time.
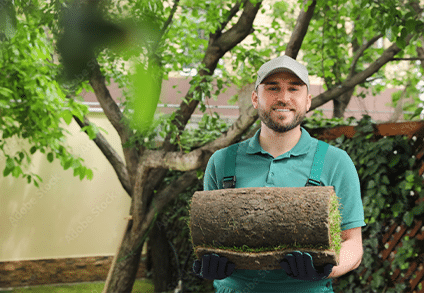
INSTALLATION
Horizon Turf Nursery can arrange for installation of your fresh cut sod. Please call us at least three days in advance to schedule your sod installation.